


Youngsters will learn to create 2D and 3D video games with the gaming platform Unity within the 3D Sport Improvement course. Throughout the course, your youngster will study all of the fundamentals of coding within the programming language C#. 2D and 3D recreation growth ideas are used within the C# language. It is a quick publish about how you can management objects in Unity utilizing arrow keys.
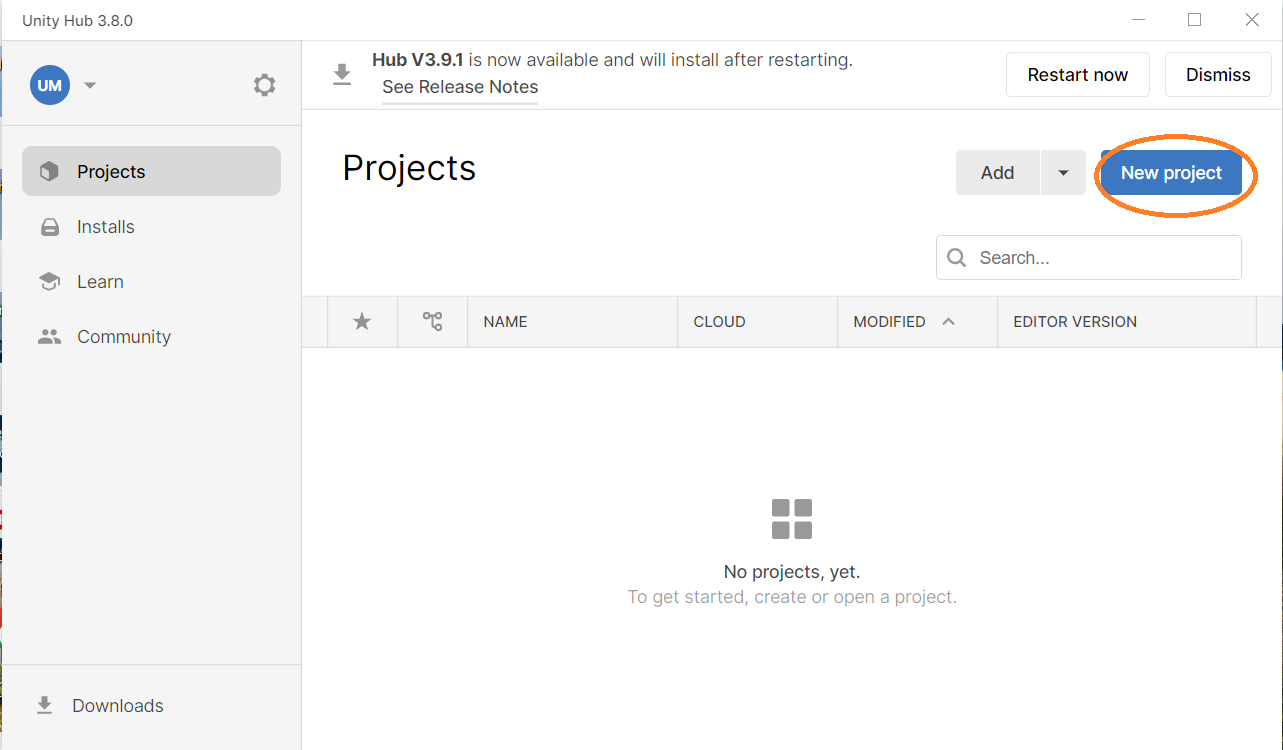
Step 1: Create a brand new mission in Unity Hub
Choose “Common 3D Template”, give the mission an applicable title and click on “Create Mission” as proven under.
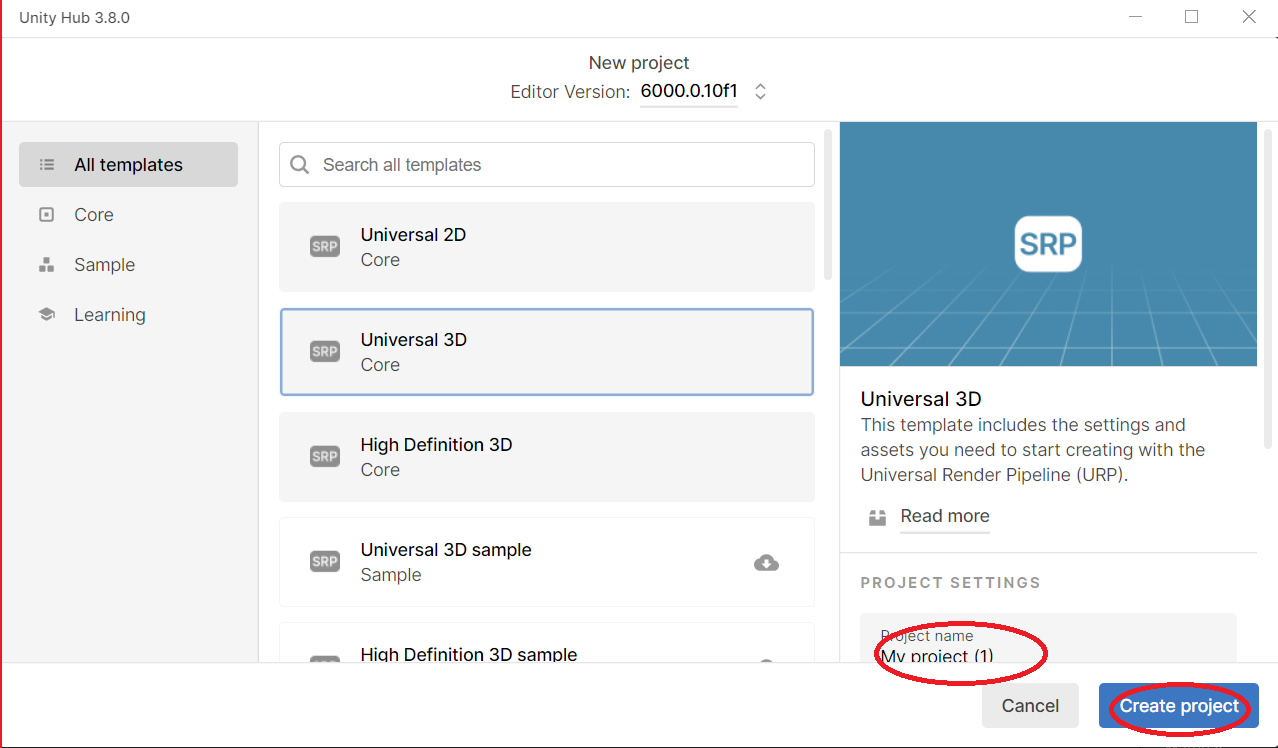
Click on Create Mission to open a brand new mission.
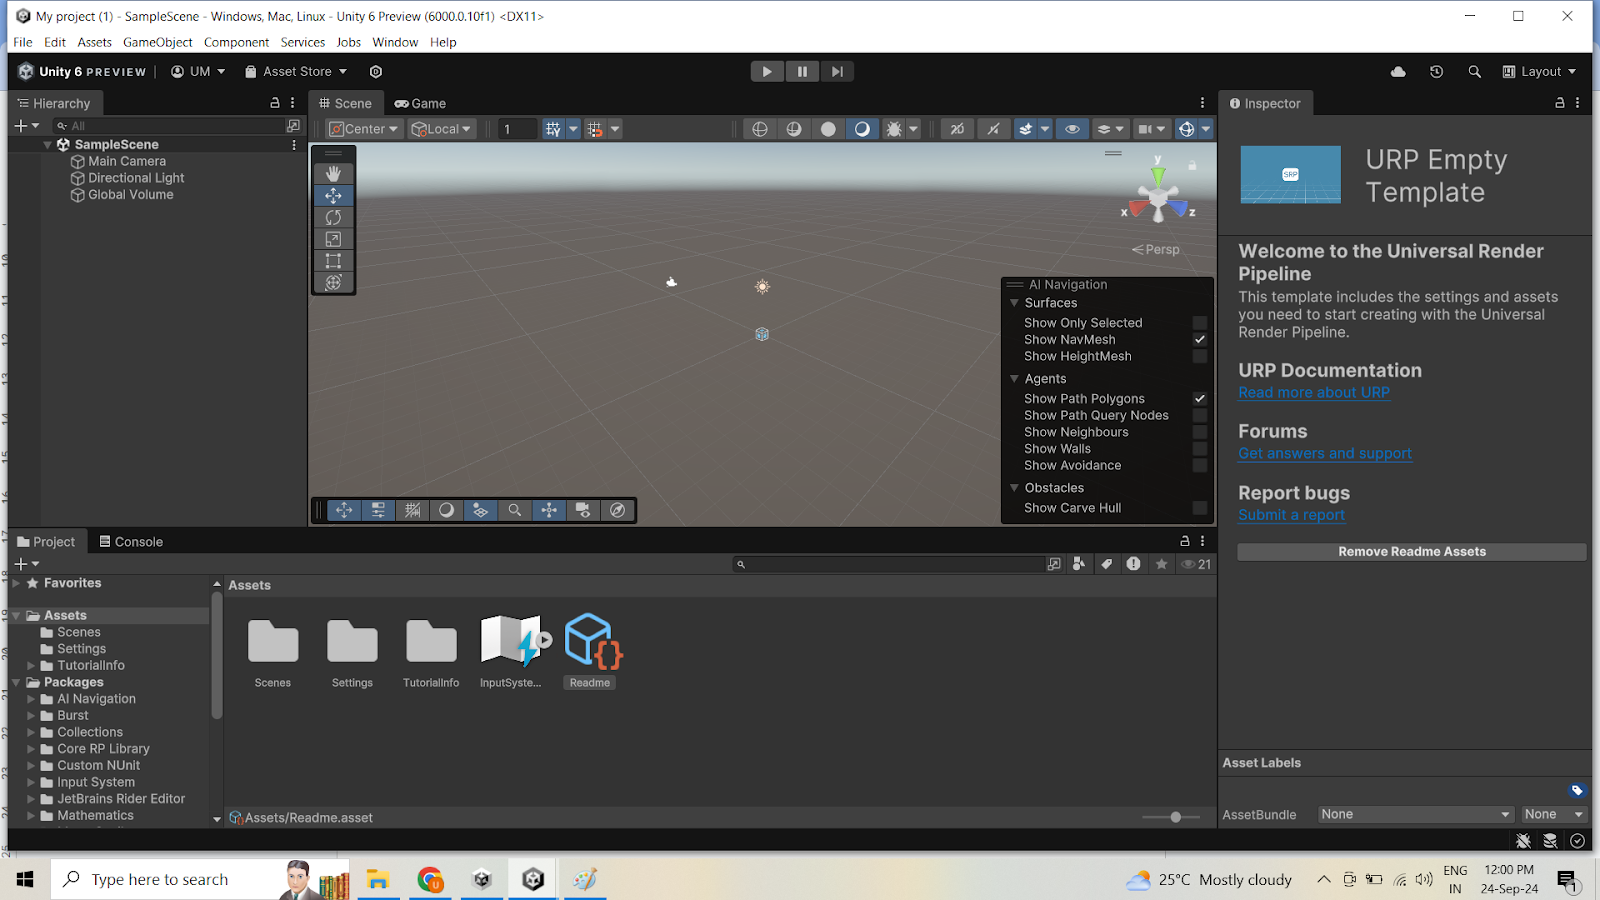
Step 2: Create an airplane as a part of your recreation design
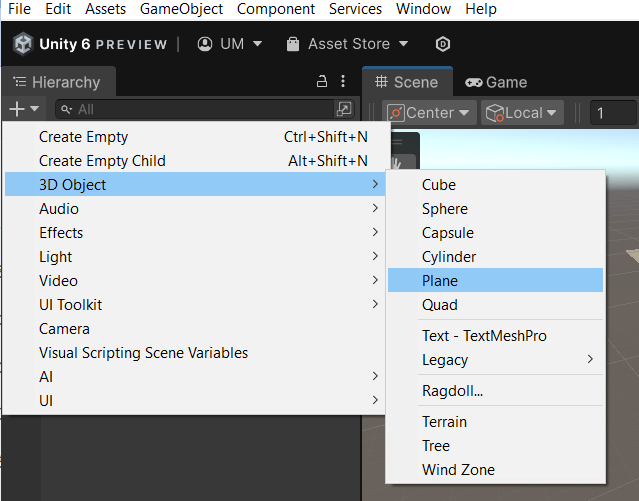
Click on + on the backside of the Hierarchy window and choose 3D objects and planes. A aircraft just like the one proven under is created.
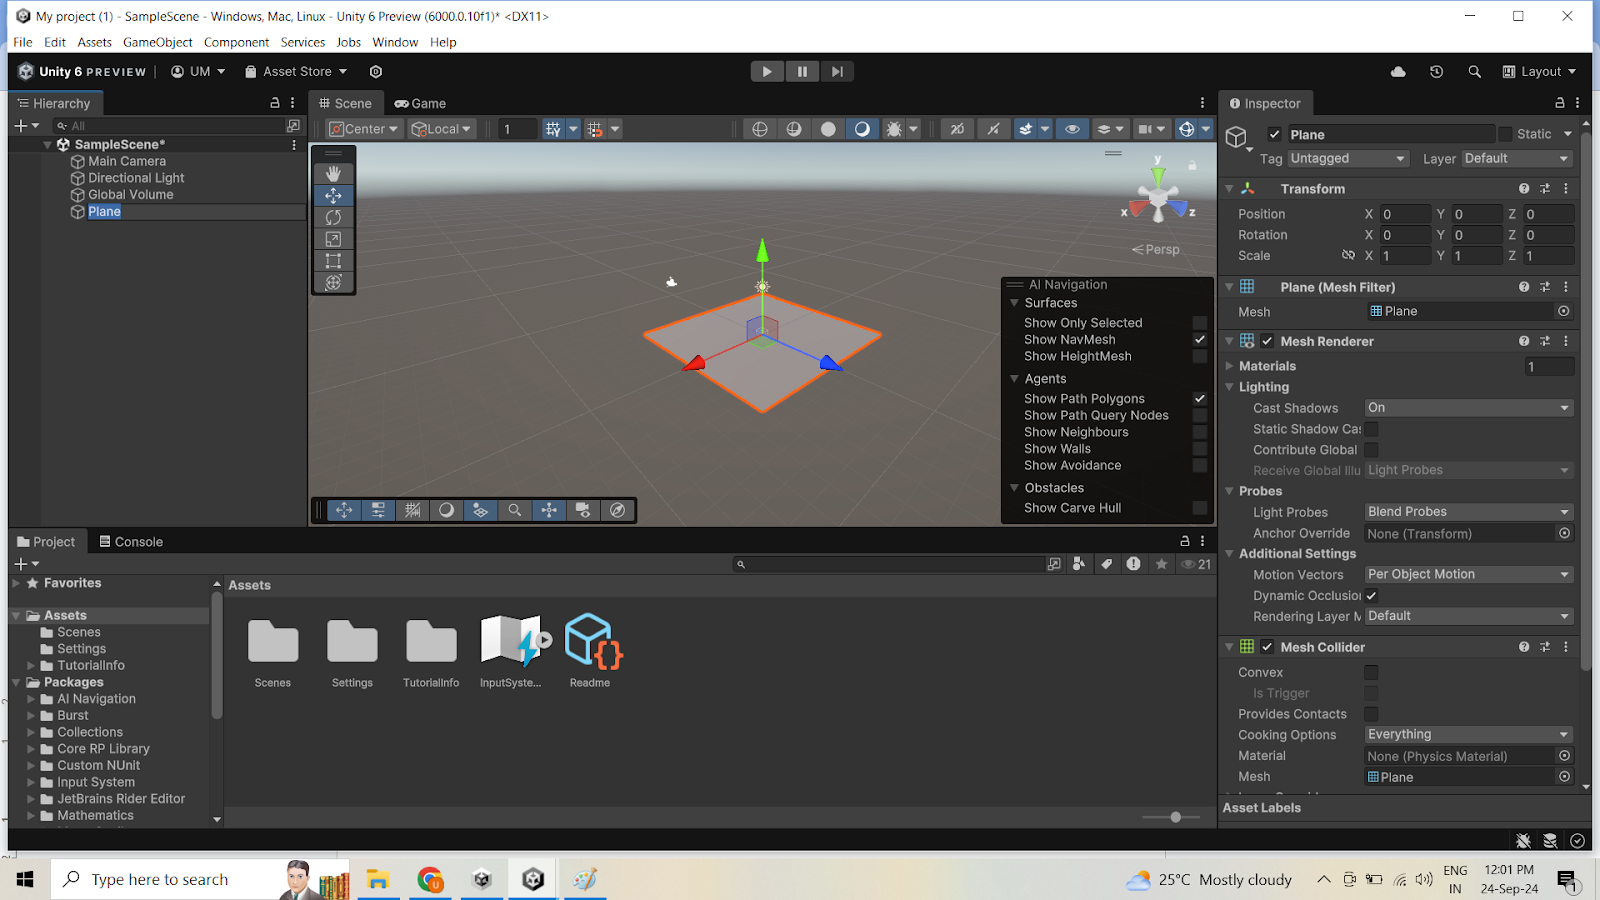
You may transfer the aircraft as per your requirement utilizing the coloured arrows as proven above.
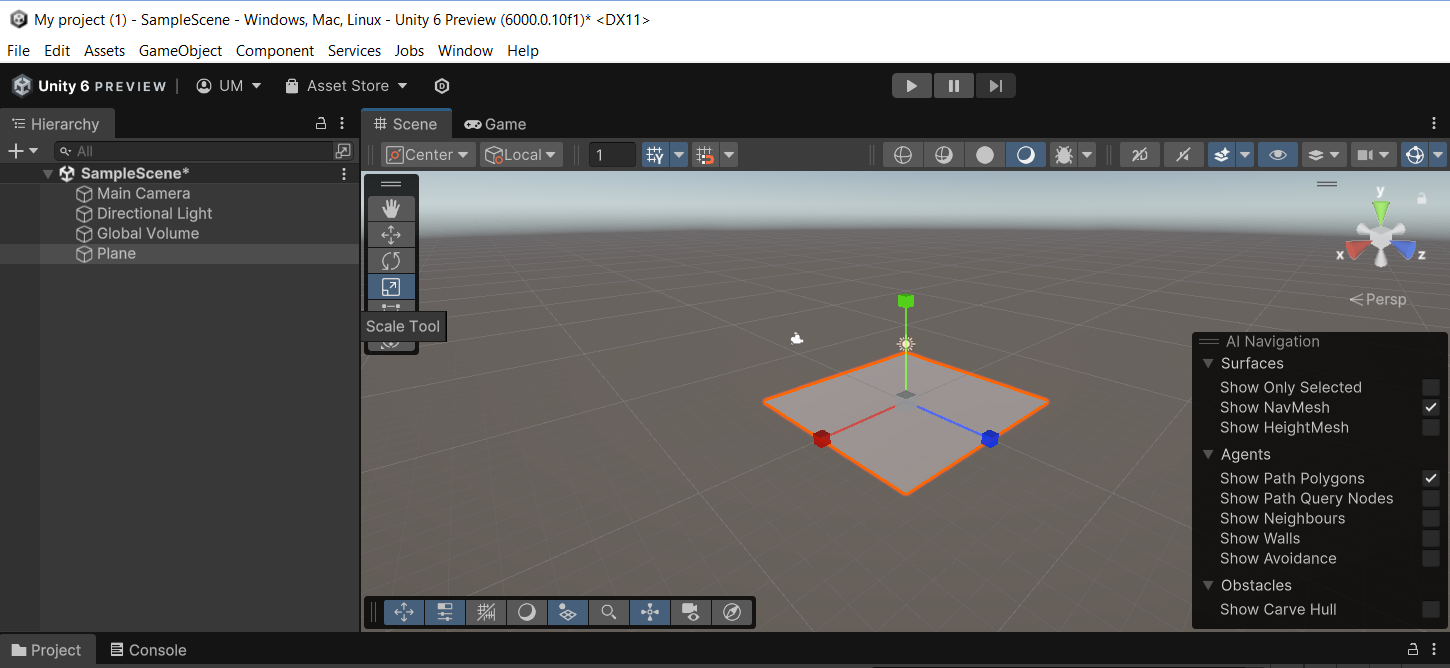
Click on the dimensions instrument as proven under to extend the dimensions of the plan on any axis as wanted.
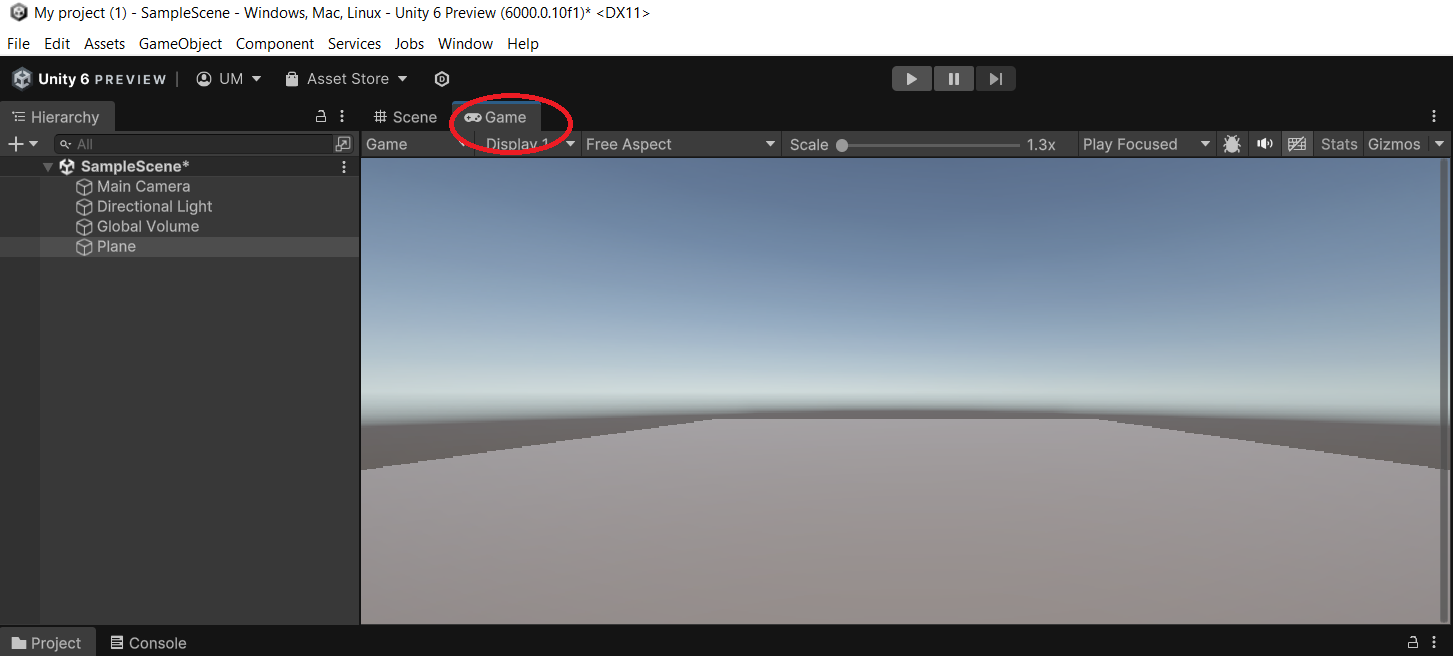
Click on on the sport view as proven under to see what the aircraft will appear like whenever you run the sport.
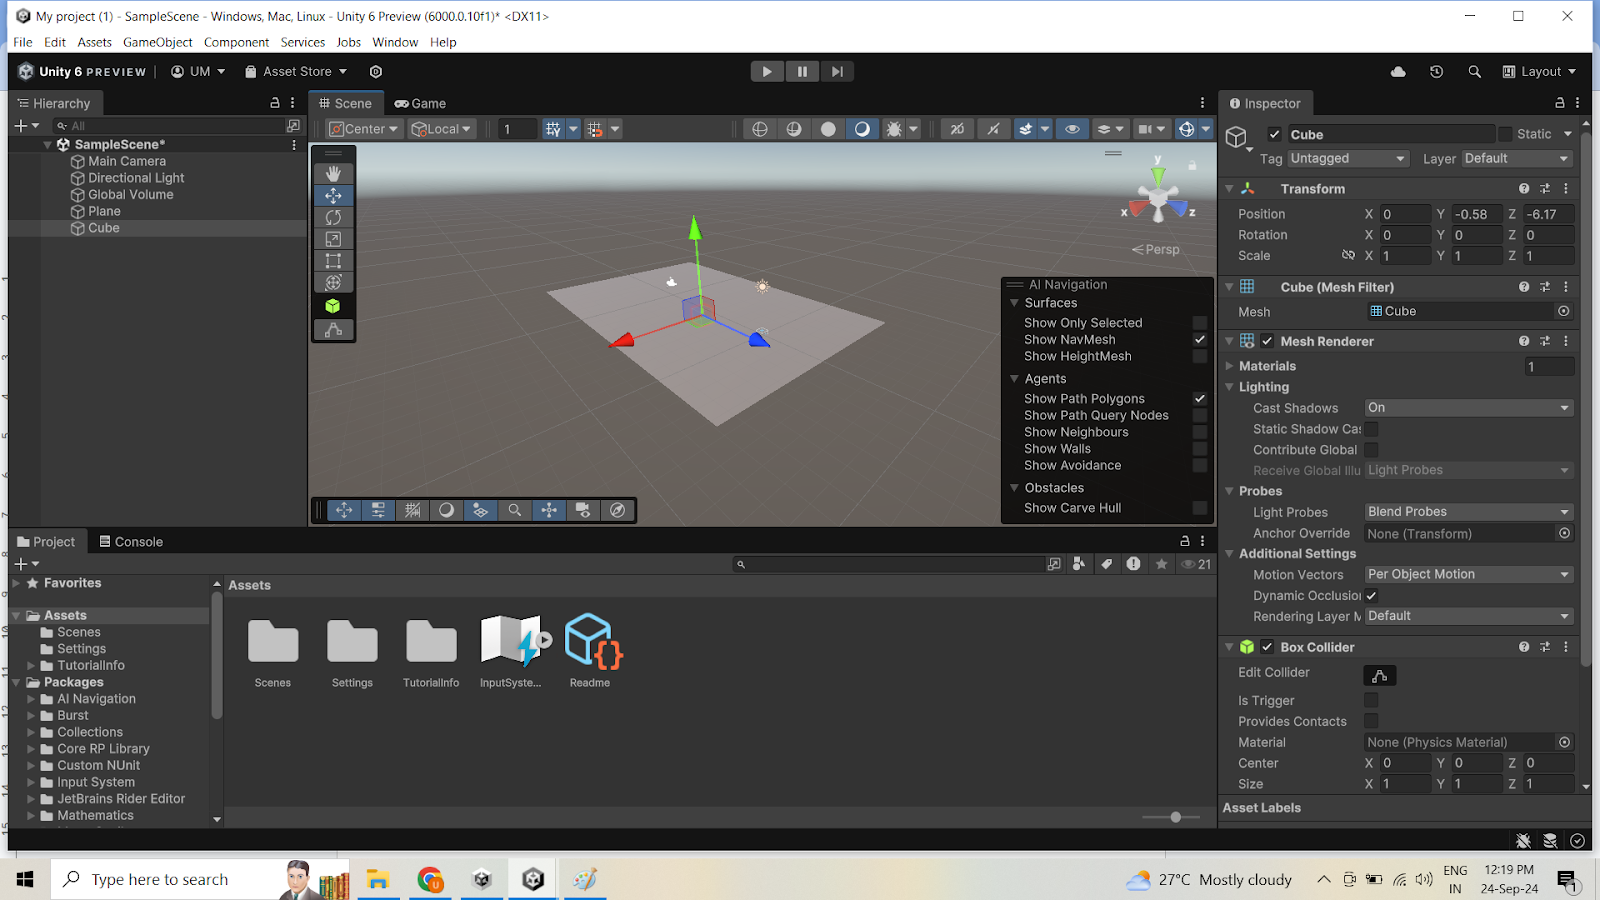
Step 3: Create the dice
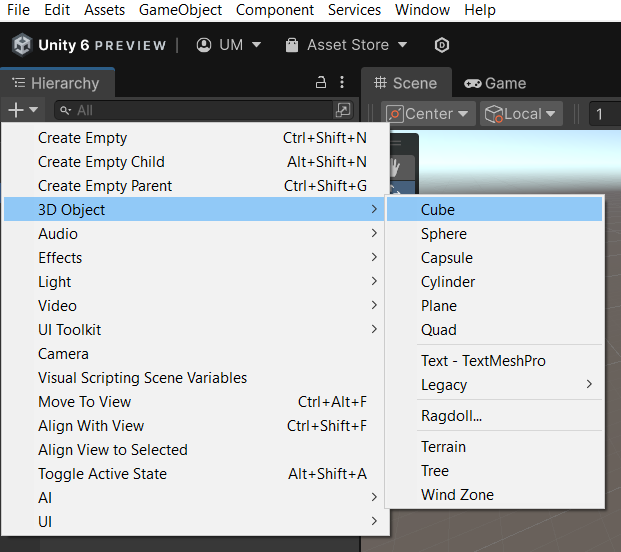
Click on + on the backside of the Hierarchy window and choose the 3D object and dice. A dice just like the one under can be created.
You may transfer the aircraft as per your requirement utilizing the coloured arrows as proven above.
Click on the dimensions instrument as proven under to extend the dimensions of the plan on any axis as wanted.

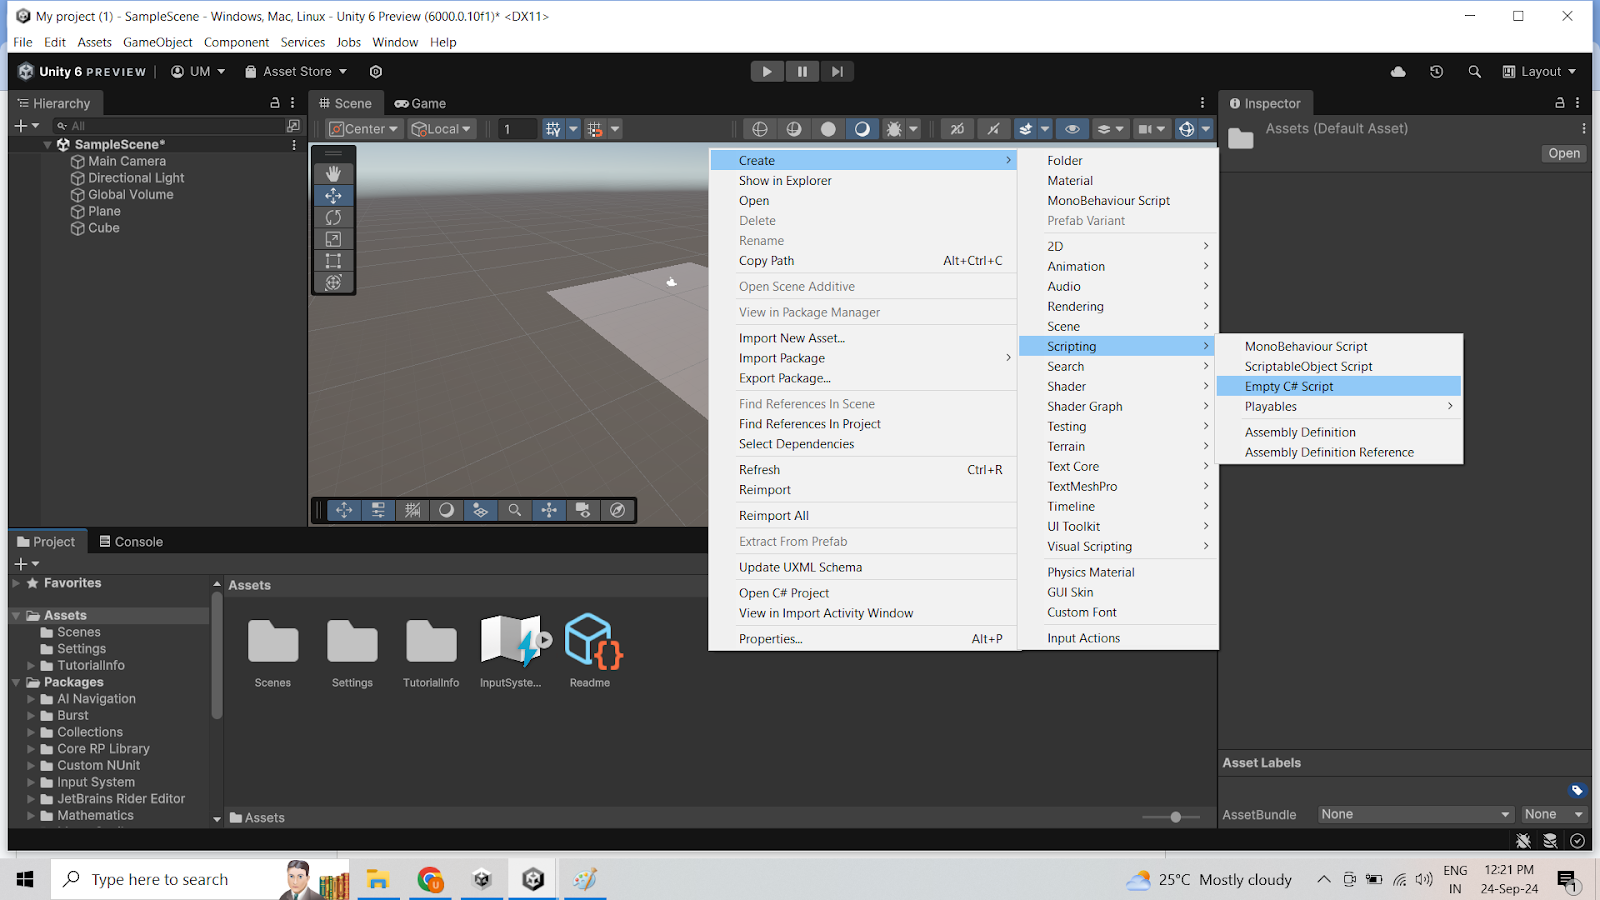
Step 4: Create a brand new script and fasten the script to the dice
Go to the underside mission window and proper click on[作成]->[スクリプト]->[空の C# スクリプト]Choose.
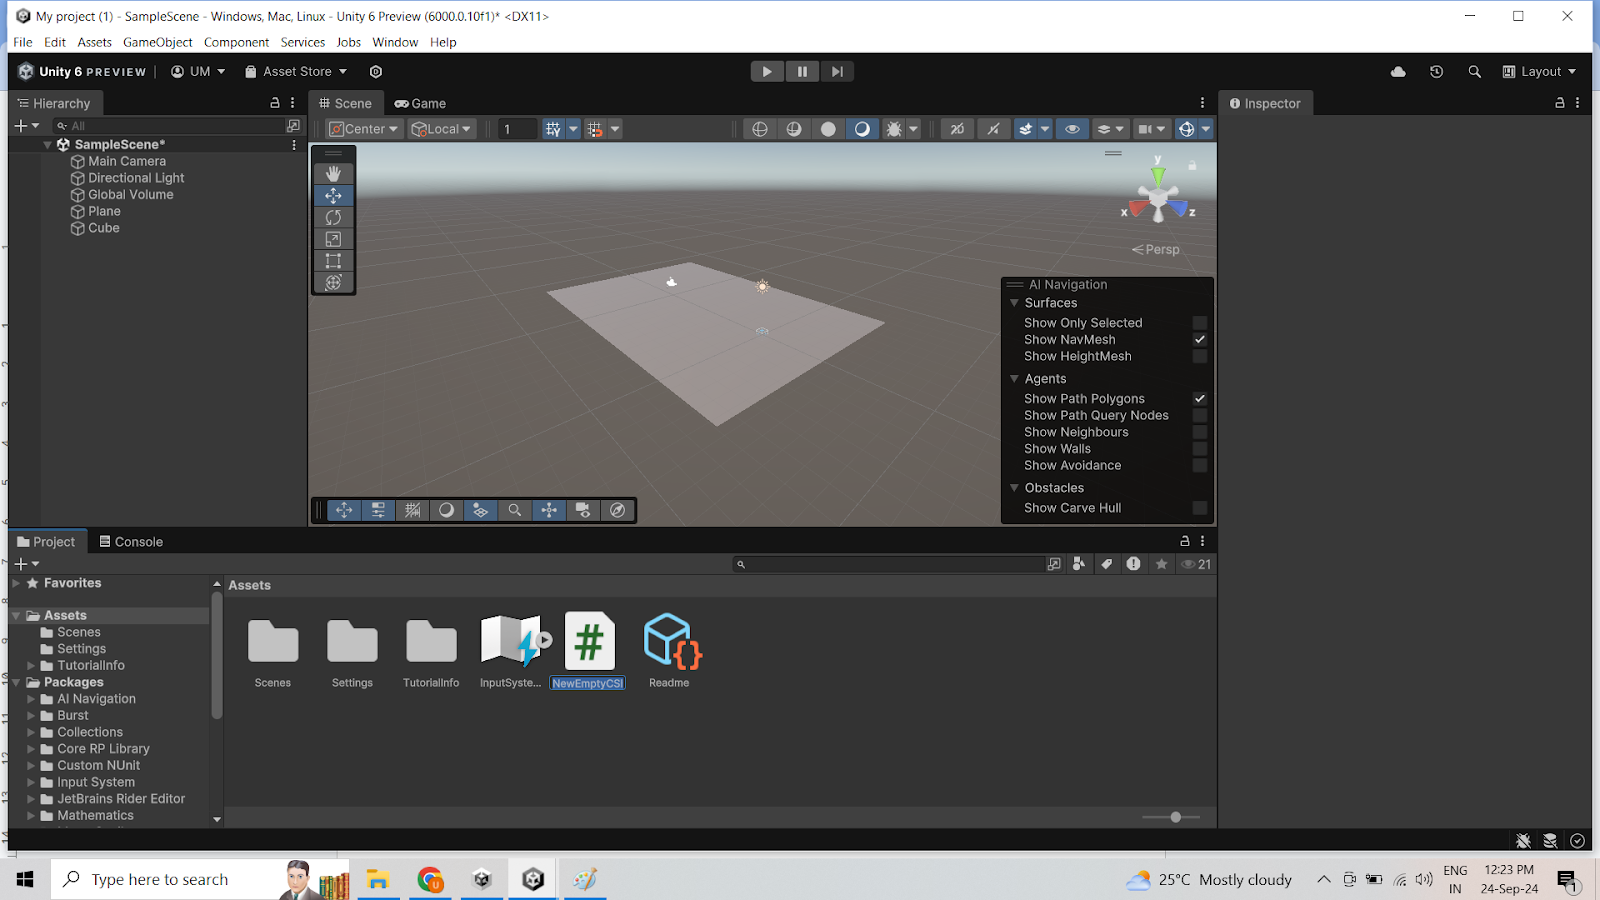
Rename the script in line with your necessities.
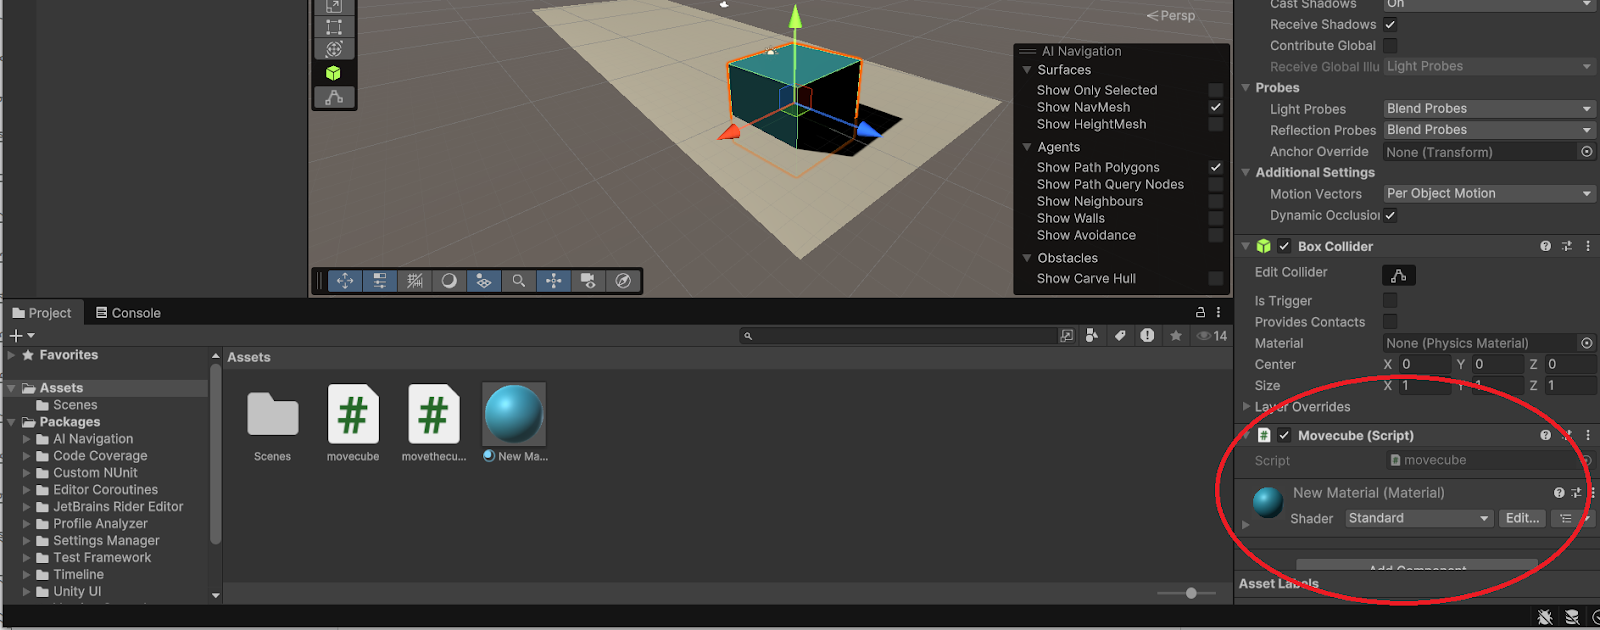
Drag the script and hover your mouse over the dice. The script is hooked up to the dice as proven under.
Step 5: Write code in your script
Double-click the script you created to open the Visible Studio editor.
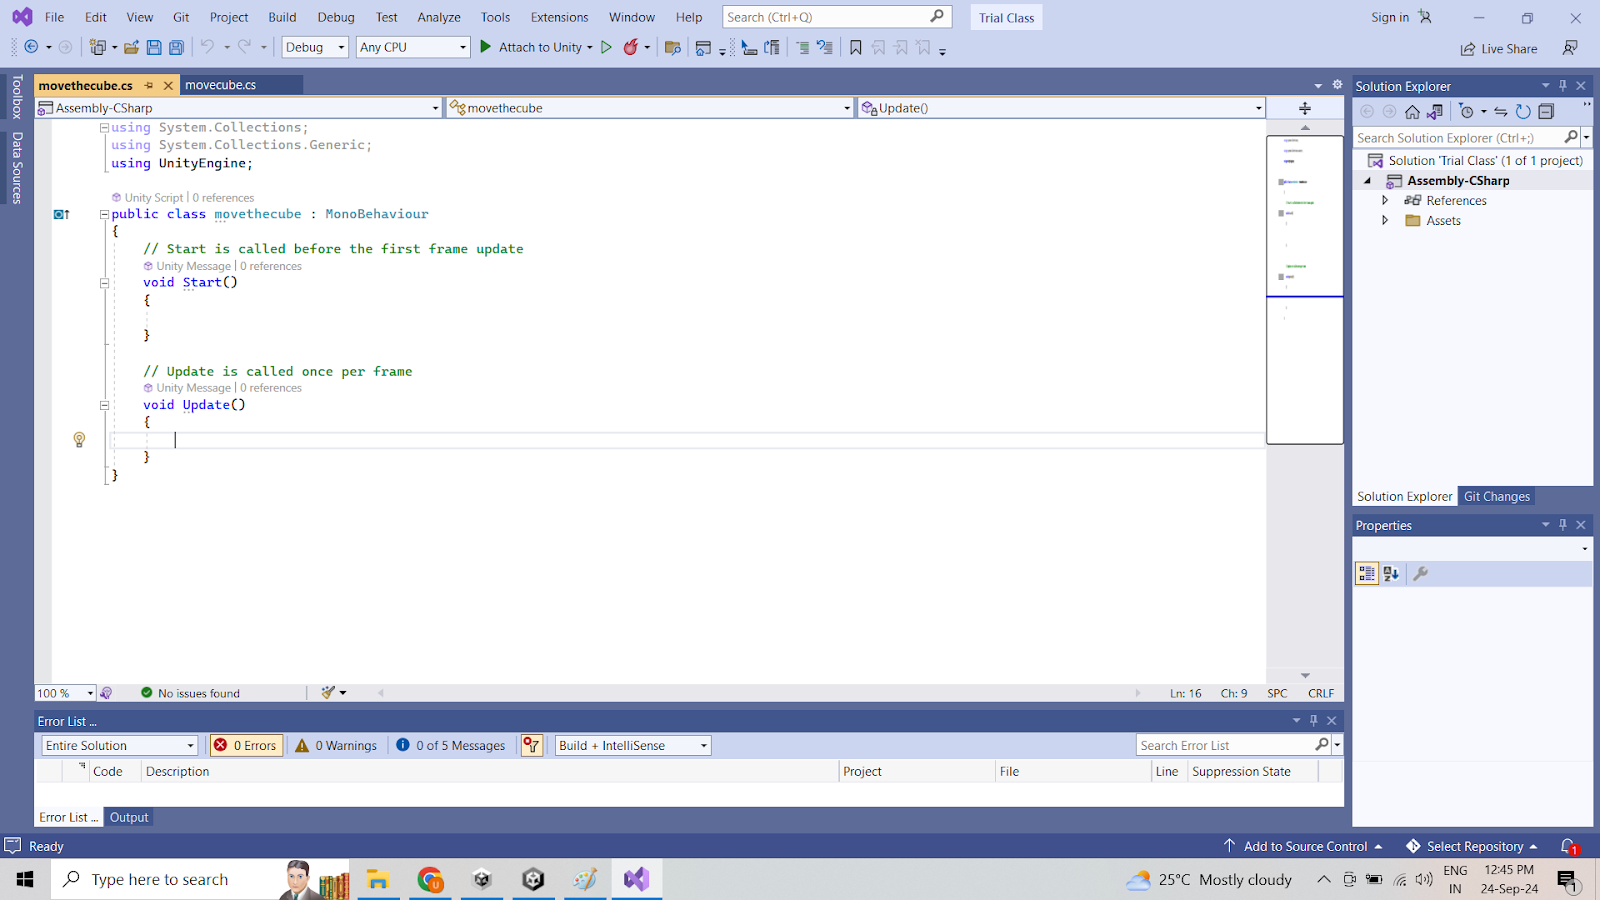
As proven above, the script has two built-in capabilities: begin() and replace().
Code written inside the begin operate executes as soon as, whereas code written inside the replace() operate executes perpetually till the code execution is stopped.
Write the next code within the replace() operate and save the code.
Use System.Collections.
Use System.Collections.Generic.
Use UnityEngine.
Public class movecube : MonoBehaviour
{
// Begin is known as earlier than the primary body replace
void Begin()
{
}
// Replace is known as as soon as per body
void Replace()
{
if (Enter.GetKey(KeyCode.LeftArrow))
{
Translate.Translate(-0.2f, 0, 0);
}
if (Enter.GetKey(KeyCode.RightArrow))
{
Translate.Translate(0.2f, 0, 0);
}
if (Enter.GetKey(KeyCode.UpArrow))
{
Translate.Translate(0, 0.2f, 0);
}
if (Enter.GetKey(KeyCode.DownArrow))
{
Translate.Translate(0, -0.2f, 0);
}
}
}
Code clarification:
if (Enter.GetKey(KeyCode.LeftArrow))
{
Translate.Translate(-0.2f, 0, 0);
}
The above code checks if the left arrow key on the keyboard is pressed. Urgent this may transfer the dice by -0.2 on the unfavorable X axis. Transfer the dice by -0.2 from proper to left from its authentic place.
Step 6: Run and confirm your code
After saving the code, return to Unity and click on the Run button on the high to see if the code works.
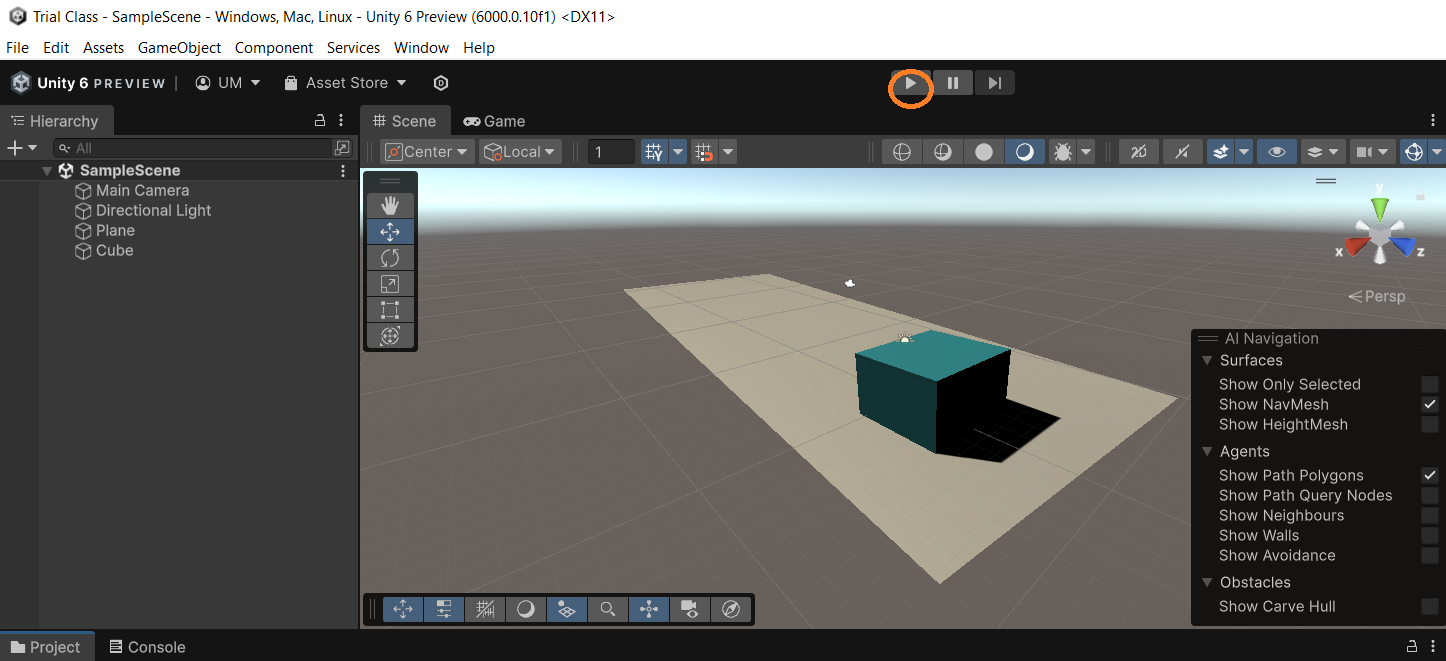
You must have the ability to transfer the dice utilizing the left, proper, up and down arrow keys.
I hope this helps, thanks.
Additionally learn: Are you able to belief jpg information?, Most Widespread FPS Video games on Roblox, and Intrusion Detection Methods
