


introduction
The newest launch of Adobe Captivate provides enhanced instruments for constructing customized e-learning content material, together with highly effective options. These options can be utilized to design interactive tables. These tables might be custom-made to show pictures, buttons, and different dynamic parts to create an enticing consumer expertise. Right here, we are going to create two varieties of interactive tables in Adobe Captivate. These codecs are nice for including visible attraction and performance to your coaching module.
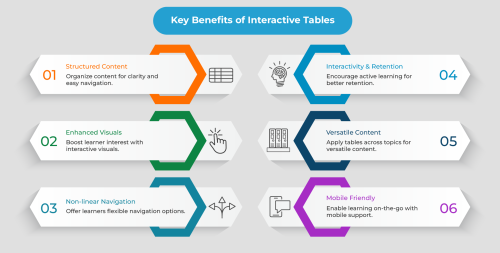
Why use interactive tables?
Adobe Captivate’s interactive tables assist you to show content material in a structured, visually partaking format. They permit learners to work together with content material in a nonlinear approach and supply a hands-on expertise. Options like Picture Grid and button It’s particularly helpful for creating enticing interactive tables.
Use to create an interactive desk Picture Grid
This interactive desk is actually a grid of pictures that learners can click on to view extra data or navigate to completely different sections. The sort of desk is good for visible studying and is usually utilized in product catalogs, worker directories, or visual-based content material.
Utilizing interactive tables, step-by-step information Picture Grid
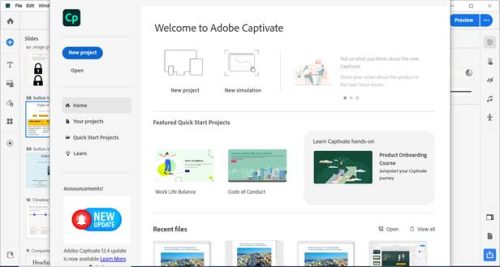
1. Entice Adobe and launch a brand new undertaking
-
- Begin with a brand new slide or choose an current slide the place you need to place an interactive desk in place.
2. Insert Picture Grid Widgets
-
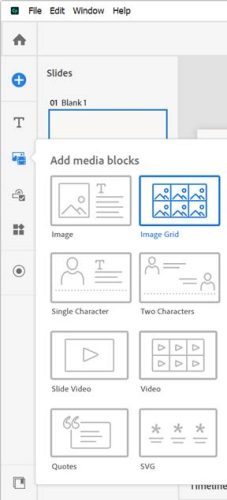
- Within the toolbar, go to the Belongings panel and Picture Grid From the listing of media blocks. A placeholder can be displayed the place you’ll be able to insert pictures.
3. Add picture to the grid
-
- Click on on every placeholder so as to add a picture. Adobe Captivate means that you can regulate the scale of every grid cell to suit the picture.
- Be certain every picture is optimized for net shows, as excessive decision pictures can sluggish loading instances.

4. Compromising your grid settings
-
- You may regulate the variety of rows and columns, spacing between pictures, and alignment. This customization means that you can match the grid to the structure and design of your content material.
5. Set the motion for every picture
-
- Adobe Captivate means that you can add actions to every picture. For instance, you’ll be able to add an anti-click motion that shows further data when a picture is clicked, or you’ll be able to hyperlink to a different slide or an exterior URL.
- So as to add an motion, choose the picture, go to interplay, and choose the motion (“Transfer to the subsequent slide” or “Set the state“)[相互作用]Beneath the tab.
- Preview and Check
- Preview the slide to make sure that the grid works as anticipated. Be certain every picture is clickable and the linked actions are working correctly.

Use to create an interactive desk button
Tables with interactive buttons set off a wide range of actions. That is particularly helpful for offering learners with navigation choices or interactive assessments inside the course.
Utilizing interactive tables, step-by-step information button
1. Begin with a brand new slide or choose a slide
- Begin by creating or deciding on the slide the place the interactive desk can be positioned.
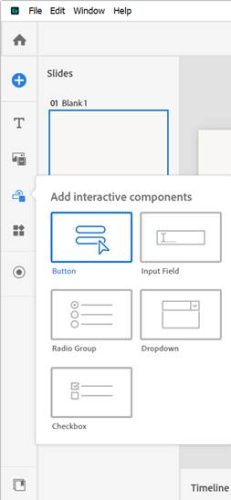
2. Create a desk structure utilizing the buttons
- Choose from the interactive elements within the Belongings panel button Place the button on the slide. You may place buttons on rows to create a structured desk look.
- Modify every measurement button Suits to the structure you need.
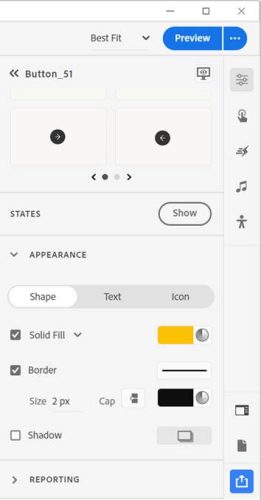
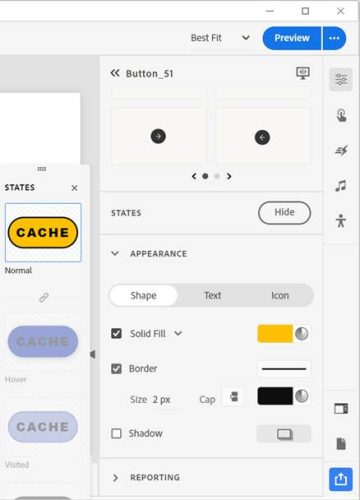
 3. Customise the textual content and styling of the button
 - Click on every button to customise the textual content. For instance, you’ll be able to label every button with the identify of a bit, class, or different motion.
- Use Visible Property Inspector Change button Colour, font, measurement. Constant styling ensures that the desk is cohesive.
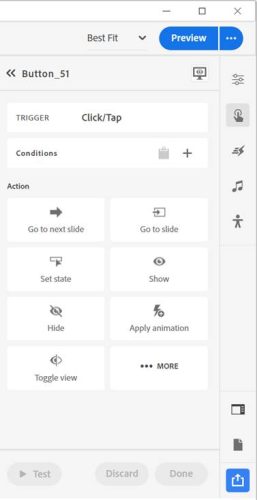
4. Assign an motion to every button
- Choose the button and go to motion Interplay tab.
- Choose an motion for every button like this Go to the subsequent slide, open the URL or file and play the mediaand many others.
5. Add visible suggestions button click on
- Adobe Captivate provides states and animations akin to Hover Results. This can be utilized to make every button visually reply when clicked. This helps learners perceive which buttons they’ve chosen and enhance their interactivity.
6.PREVIEW and Adjustment
-
- Check the interactive desk button By previewing the slide. Be certain all buttons work as supposed and that their actions are arrange appropriately.
Greatest Practices for Creating Interactive Tables
- Design consistency: Use uniform colours, fonts and sizing throughout all desk parts to take care of visible consistency.
- Use a transparent label:Please verify every one button Alternatively, pictures might be labeled in an intuitive approach for learners to assist navigate simply.
- Check it everywhere in the system: Captivate helps responsive design and interactive tables ought to be examined on completely different units as parts can seem in a different way in cellular and desktop views.
- Maintain accessibility in thoughts: Adobe Captivate helps accessibility options akin to keyboard navigation and display reader compatibility. Make it possible for every interactive factor is accessible to all customers.
Conclusion
Creating customized interactive tables in Adobe Captivate is a good way so as to add interactive visible parts to draw learners. Each tables Picture Grid and button It could add nice worth to your e-learning undertaking, offering straightforward navigation, visible attraction and interactive studying alternatives. I used it to show the desk Picture Grid and buttonyou’ll be able to discover extra choices to do the identical. Remember to preview and check these tables to make sure easy performance throughout your units and platforms. These instruments are geared up to boost the consumer expertise of your Adobe Captivate undertaking.
